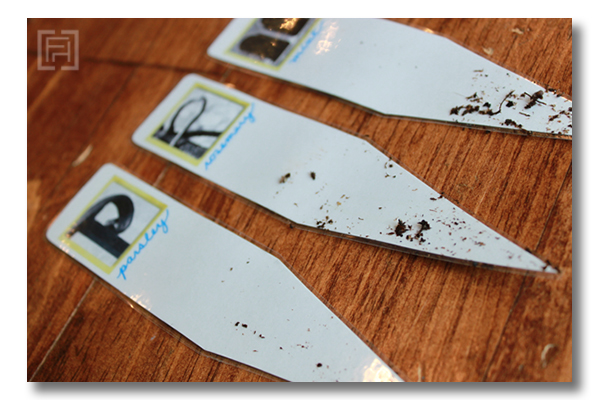
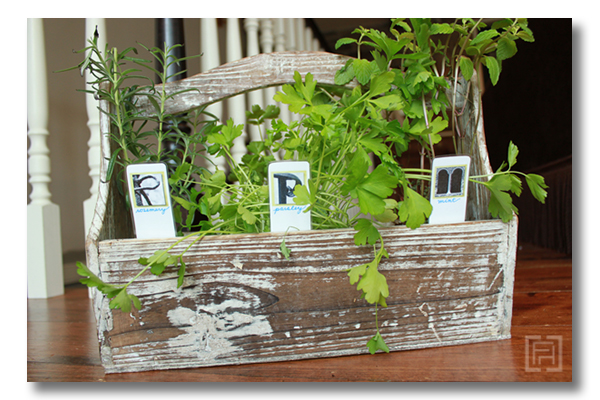
Last week, I did the easiest, and cutest little project. I made these diy plant markers using downloadable artistic photo letters:
I think they would make perfect teacher, Easter or thank you gifts, especially if embedded in a cute little plant.
Now, you all know that I don’t believe in complicated diy projects! And this one couldn’t have been any simpler:
1. Download the artistic alphabet photos
I downloaded the artistic alphabet onto my computer {I got over 400 images to choose from}. After downloading the images, I poured through the many choices for each letter, and selected the ones I loved the most.
2. Import, edit and print your letters
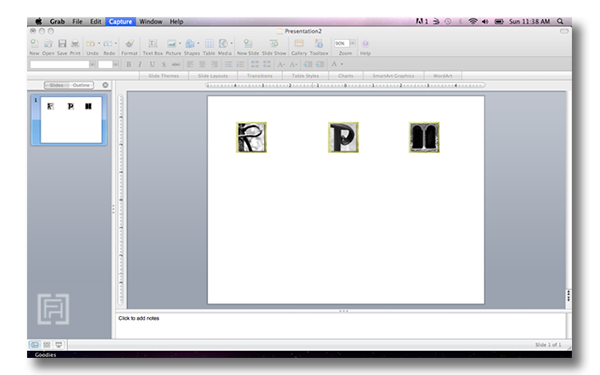
I imported 3 letters into my photo editing program, and cropped them so that they would be square in size. Then, I moved them into PowerPoint, where it would be easy to resize the alphabet photos and print an entire page. I made each letter one inch square, and just put plenty of space between each letter {I didn’t take the time to space them evenly}. I put a little border around each letter by importing a digital matte. Then I printed the letters on white card stock paper.
here is a screen shot of how I placed my letters on the page in PowerPoint:
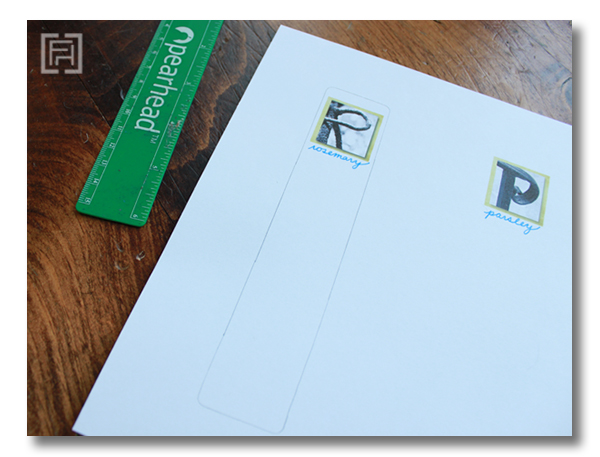
3. Measure and outline your plant markers
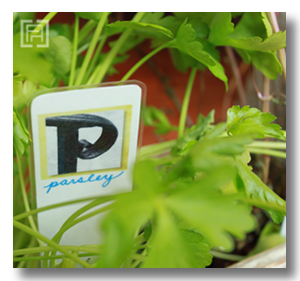
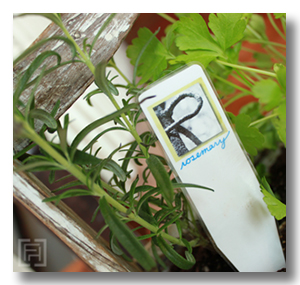
I used a small ruler, and just traced around the whole thing to keep things simple. The width of my markers are 1.5 inches. I also wrote out the name of my plants beneath each of the alphabet photo letters:
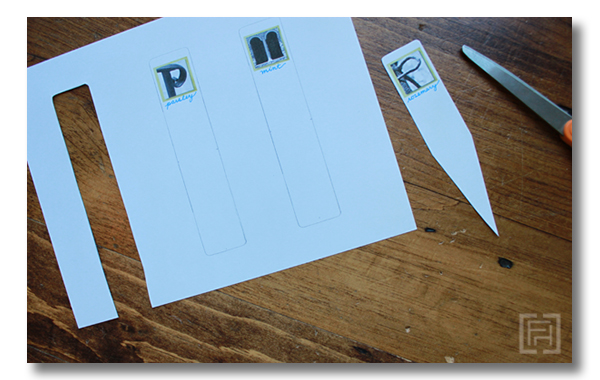
4. Cut out your markers, adding a point
5. If desired, laminate your plant markers
Or you can keep it simple, and just use the card stock. Since they are so easy to make, you can easily make new ones if they get wet. I laminated mine, because I have a laminator on hand at home.
6. Enjoy, and give as gifts
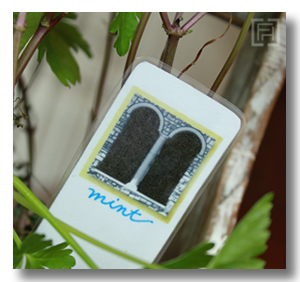
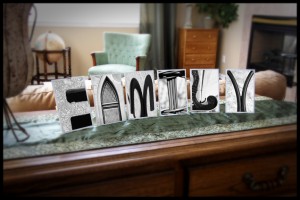
I had fun picking through the creative photo letters to pick out my favorite. It is no surprise that I loved the ones with architectural influences:
Jodi of BuyAlphabetPhotos shared her artistic photo letters with me, and I am so glad to have them on my computer! I love knowing that I can use the letters to create gifts for friends at any time. Add pretty paper and a frame, and you could highlight a special word or even your last name, and add it to your home. It would be perfect for creative baby gifts or wedding presents.
And, yay! There is a special deal for you!
Jodi has partnered with me for an exclusive deal just for Fieldstone Hill readers. All my readers can get up to $5 off a download or CD of the 400+ letter and number images PLUS a Freebie damask alphabet set with any purchase! You can get all the goodies on this page:
http://www.buyalphabetphotos.
You won’t be able to find this page on her website because it’s just for you. {Be sure to take advantage of this great deal before it expires on February 28, 2012.}
There is an inspiration page on Jodi’s website, where you can get some great ideas for projects that can easily be created using Artistic Photo Letters. Have fun checking out all of the great ideas. The thank you cards and the bracelet are my favorites. The page has ideas like these:
What would you create?
* * * * * * * *
Less than a Week Left to enter The FHD February Giveaway! Click here to enter, or click on the photo below to get to the Giveaway Page.
* * * * * * * * *
{I received a set of artistic photo letters for this post. All opinions and project ideas are my own}




Well aren’t those cute? Love it!
And look at you, all DIY’ish! 🙂
How pretty…should do this for my roses!!
fhd press:
FHD’s popular posts
sponsors I love
peruse
shop like it’s your job
FHD in blogland
categories
31 Days of Favorite Spaces A room I love about me Affordable Designer Rooms beautiful colors beautiful thoughts Bebe bebe bebe nursery before and after BHG blogland built-in of the Week client spaces contrast decorating yourself defining your style design boards design in progress design question ditto ditto d.i.y. ditto-worthy designers en masse farmhouse simplicity five faves for a song from my files here at Fieldstone Hill hiding the uglies high-gloss glamour Home tour Images Of inspiration Inspired to lessons in design living with beauty Living with Beauty: Beauty Tips and Tricks Living with Beauty: Wellness Living with Beauty: Whole Food Eating Living with Beauty: Within Master Designer mixed metals must have objects organizing overcome decorating paralysis project project kitchen project library project nursery punch color renovation rituals room by room sponsor style notebook traditions trends Uncategorized vision
Archives
Theme by Design by Kendall